Custom Helical Gear for Marine Propulsion Systems
Product Description
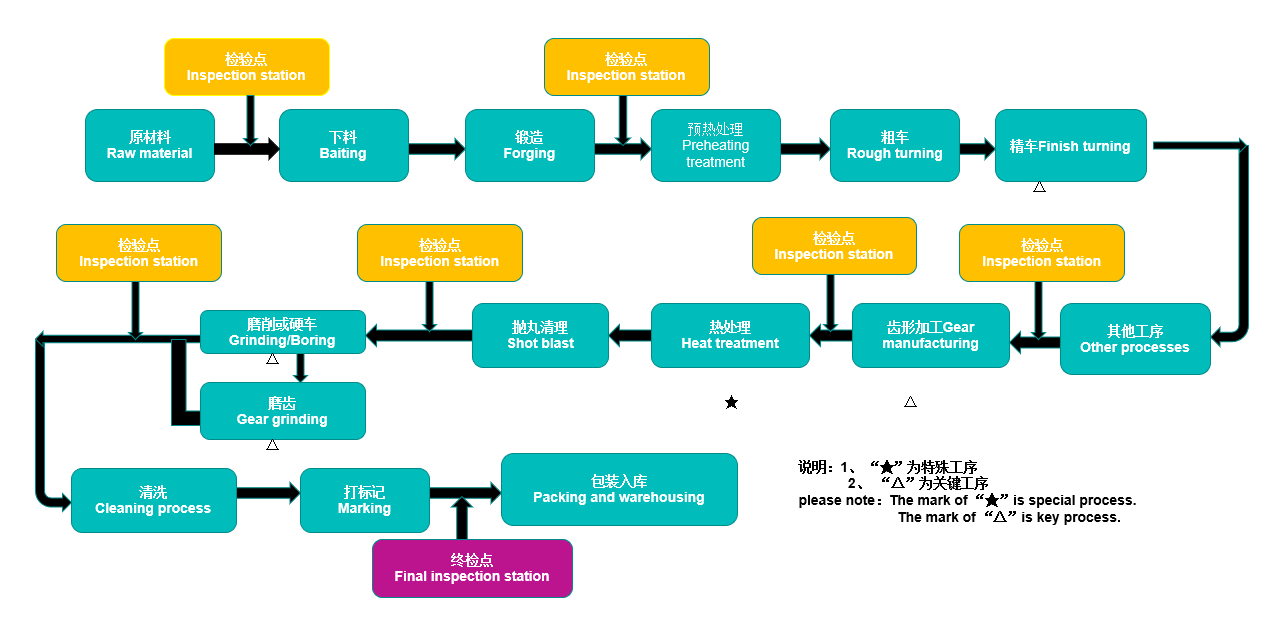
How to ensure the quality of workmanship and when to carry out inspection? This diagram outlines the key processes for cylindrical gears and the reporting requirements for each process.
Manufacturing Plant
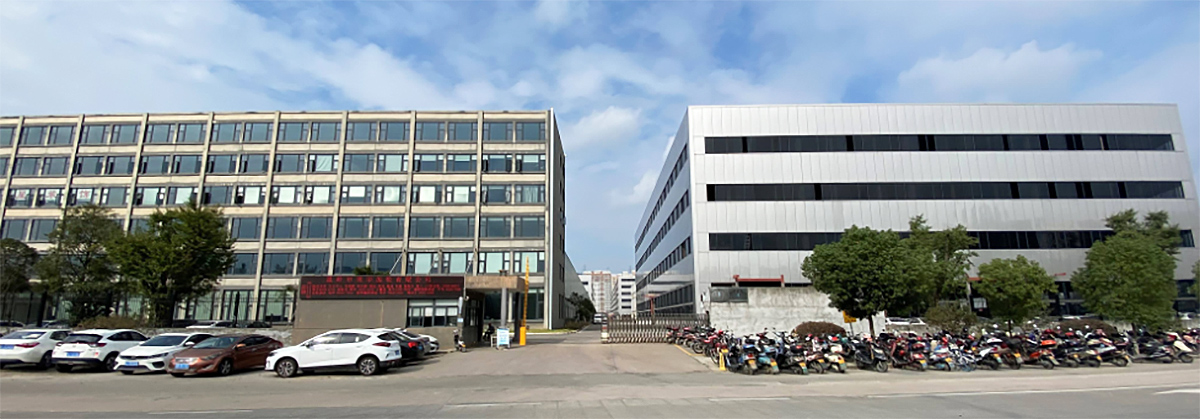
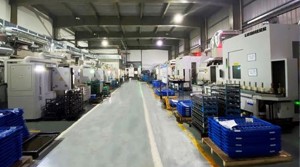
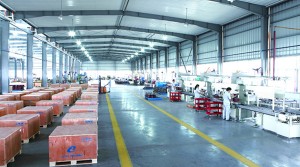
We are proud to offer a state-of-the-art production facility covering an impressive 200,000 square meters. Our factory is equipped with the latest advanced production and inspection equipment to ensure that we can meet the diverse needs of our customers. Our commitment to innovation is reflected in our most recent acquisition - the Gleason FT16000 five-axis machining center.
- Any modules
- Any number of teeth required
- Highest accuracy grade DIN5
- High efficiency, high Precision
We are able to offer unrivaled productivity, flexibility and economy for small batches. Trust us to deliver quality products every time.
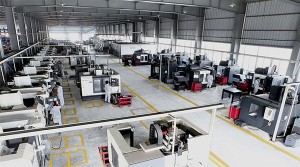
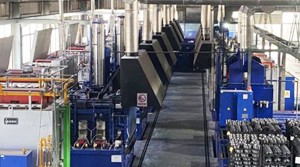
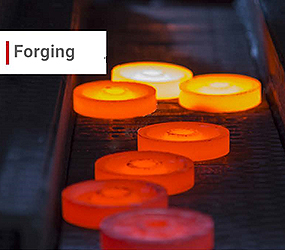
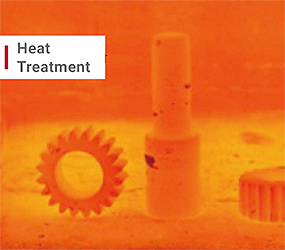
Flow of Production
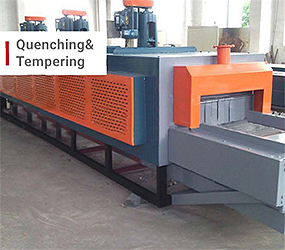
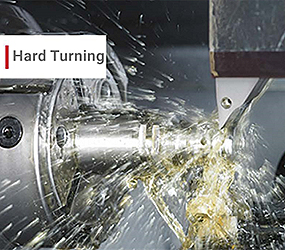
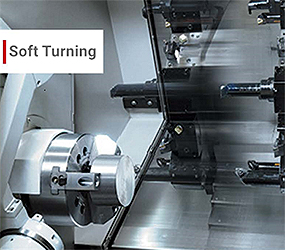
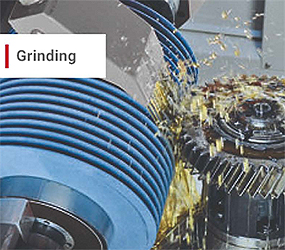

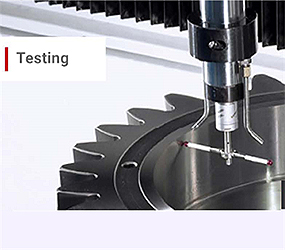
Inspection
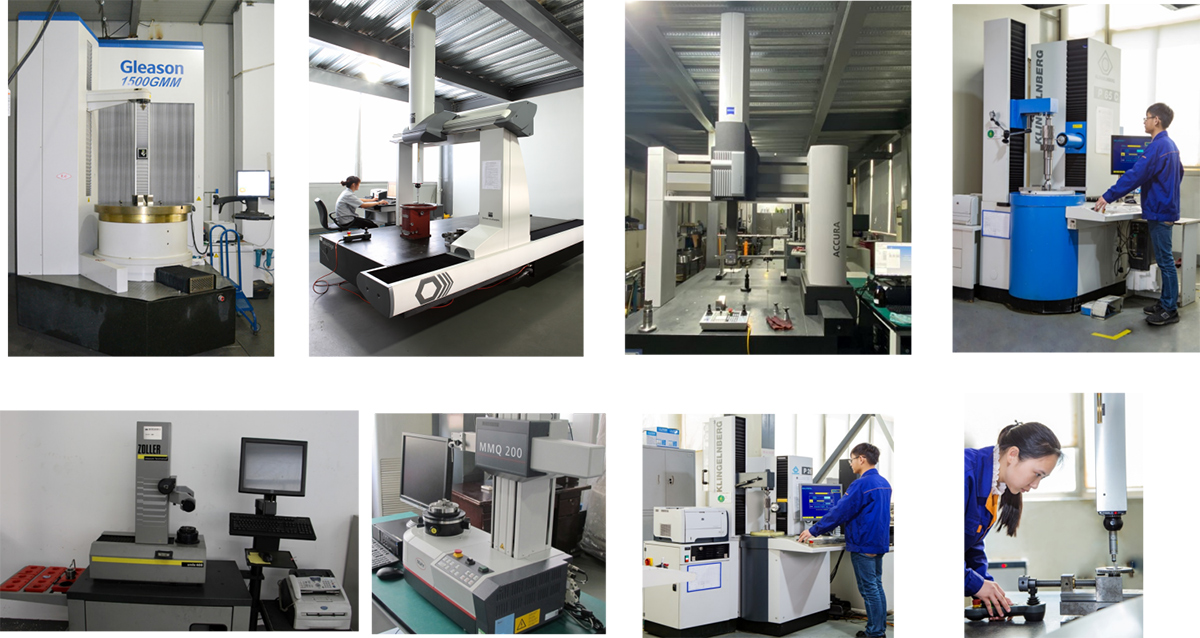
We have invested in the latest cutting-edge testing equipment, including Brown & Sharpe measuring machines, Swedish Hexagon Coordinate Measuring Machine, German Mar High Precision Roughness Contour Integrated Machine, German Zeiss Coordinate Measuring Machine, German Klingberg Gear Measuring Instrument, German Profile Measuring Instrument and Japanese roughness testers etc. Our skilled technicians use this technology to perform accurate inspections and guarantee that every product that leaves our factory meets the highest standards of quality and precision. We are committed to exceeding your expectations every time.
Reports
We will provide comprehensive quality documents for your approval before shipping.
1. Bubble drawing
2. Dimension report
3. Material certificate
4. Heat treatment report
5. Accuracy degree report
6. Part pictures, videos
Packages
Inner Package
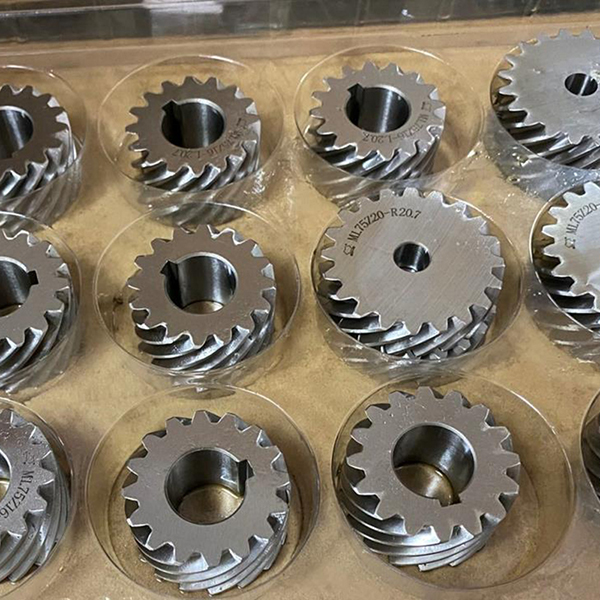
Inner Package

Carton
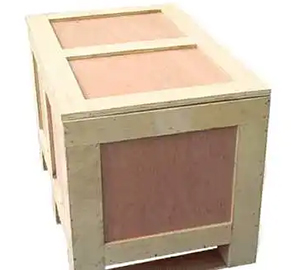
Wooden Package


